Would you like to add Social Icons to your WordPress website? But you don’t know how to use it? Worry not. We are here to help you.
In this article, you will learn step by step process of using social icons in Elementor.
Nowadays the use of social media platforms has become one of the most important tool for businesses and brands to communicate and update their audience.
Social icons can be used to direct traffic to an organization’s social media accounts to increase traffic.
Website visitors can visit a social media account page by clicking on a social icon, whereas by selecting a share button, they can share a page post or product on their personal accounts.
If you want to Display Social Icons creatively using Elementor then you should think about using Social Icons widget provided by Sky Addons.
The Social Icons widget of Sky Addons is a handy tool to Showcase Social icons on your Elementor website.
Let’s begin the learning process of using it.
Social Icons for WordPress –
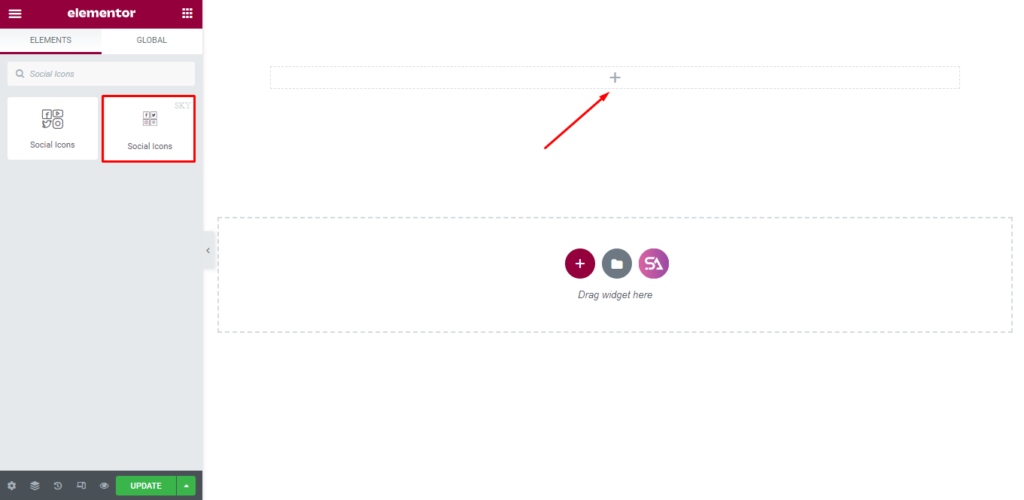
Firstly go to your Elementor editor and find the Social Icons widget of Sky addons and then simply drag and drop it into the selected area.
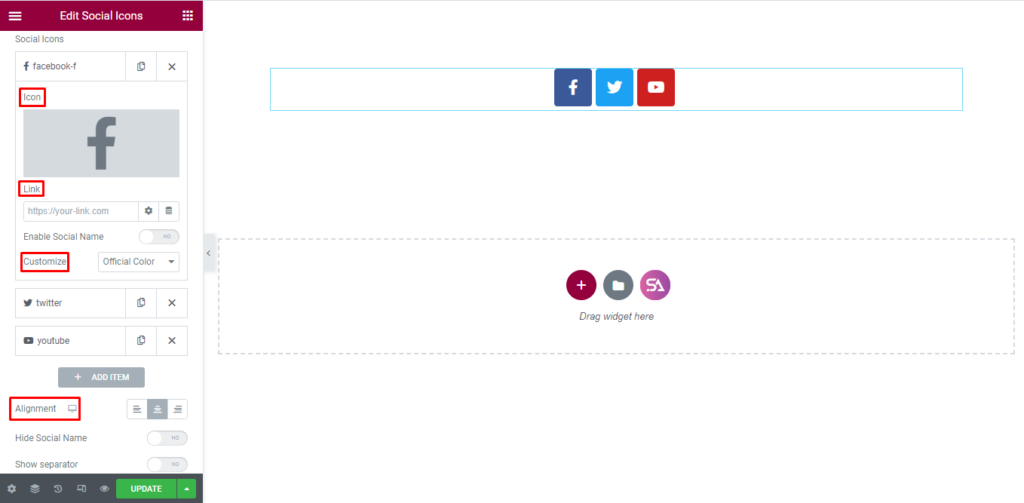
Now click on the Content section. Under the Content section, you will find Layout section.
In the Layout section, you will be able to select the icon and add a link. You can Customize the Icon to the Official Color or you may design it according to your wish.
You can add as many as item you want to add just by clicking on the Add Item button.
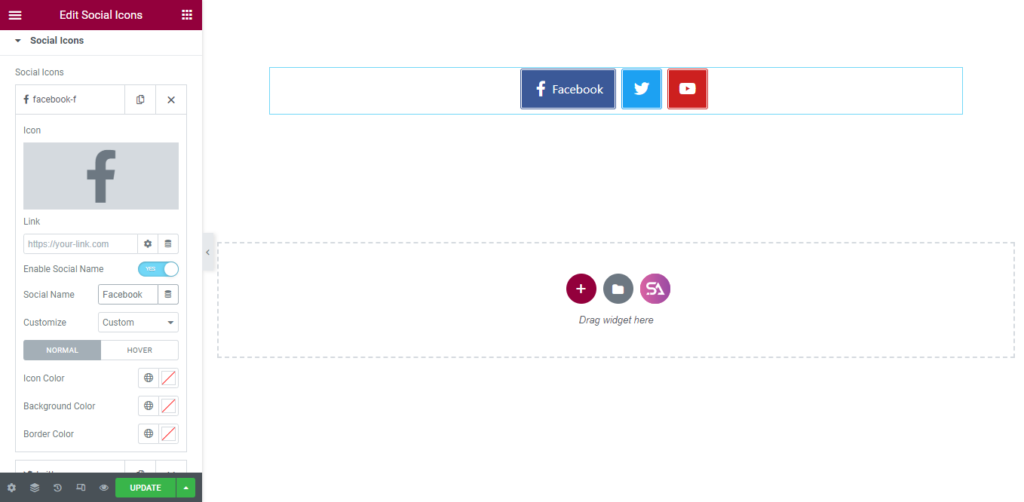
If you don’t want to display Social name then simply turn off that option.
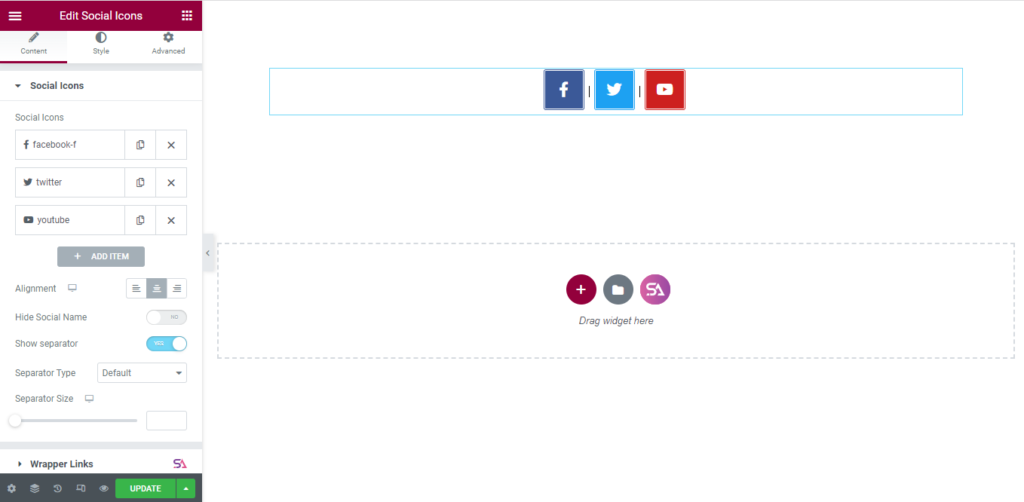
There is also an option for adding Separator in between the Icons. You are allowed to add Custom Separator as per your preference. You may also Change the Alignment of Social Icons etc.
Customize Every Feature –
Now we move to the ‘Style‘ section. You can style your social icons from here. This section consists of 3 sections. They are ‘Social Icons, Icon, and Label‘.
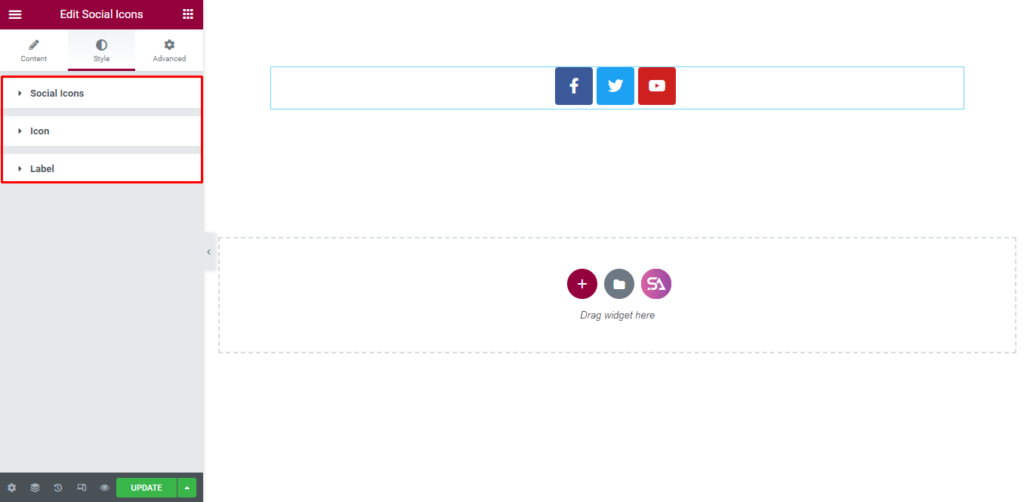
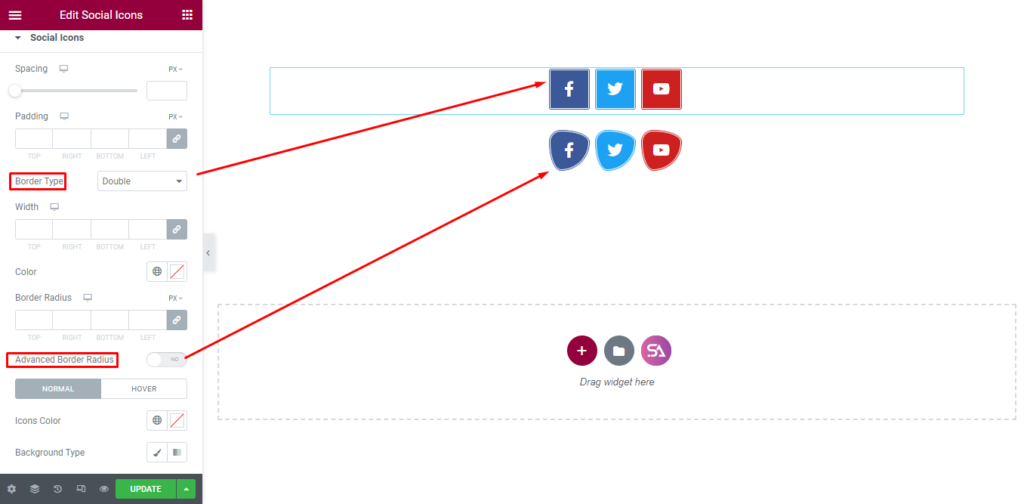
Firstly in the Social Icon section, you will be able to Adjust Social Icons spacing and padding. You may select the Border type and change Border-Radius.
You will also find an option called Advanced border-radius, If you enable that option it will increase the beauty of your social icons.
Advanced Border Radius refers to a feature in a widget design tool, allowing for more detailed control over the shape and curvature of the corners of a rectangular object. It often involves specifying separate radius values for each corner, rather than a single value for all corners. The result is more complex, non-uniform shapes, that can better match the design elements of a website.
As you can see in the image below we have shown you an example of how it looks after enabling the Advanced Border Radius. You can also manually change the advanced border-radius according to your design.
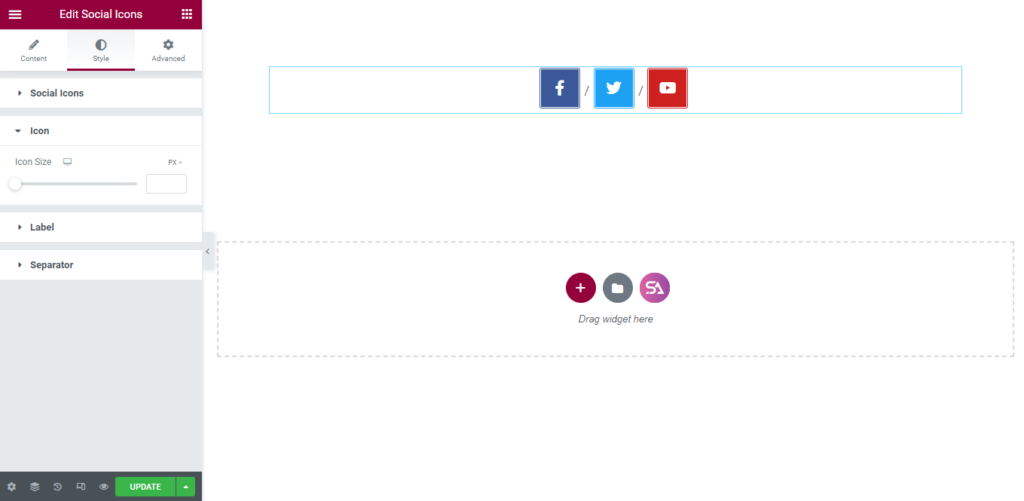
The next section is the ‘Icon‘ section. Here you can change the size of your social icon.
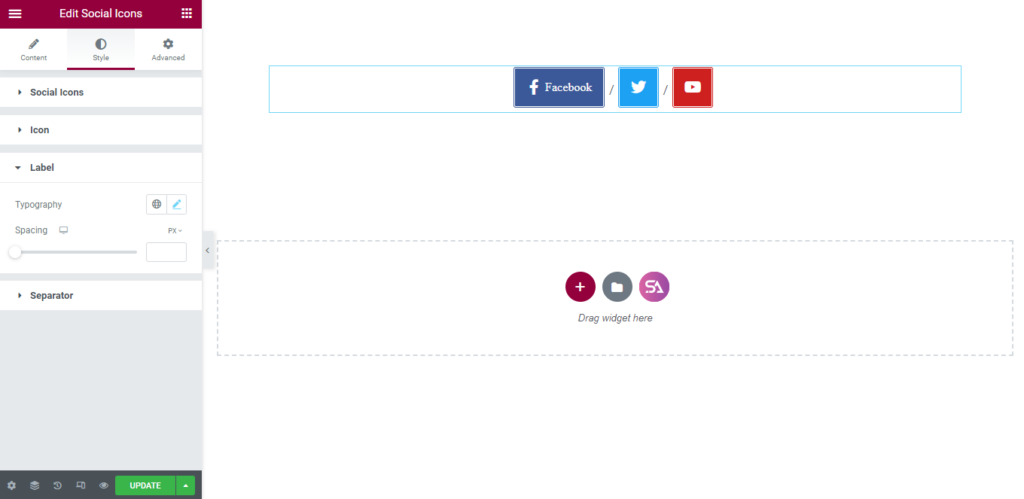
In the ‘Label‘ section, you may select the typography of the label and add spacing.
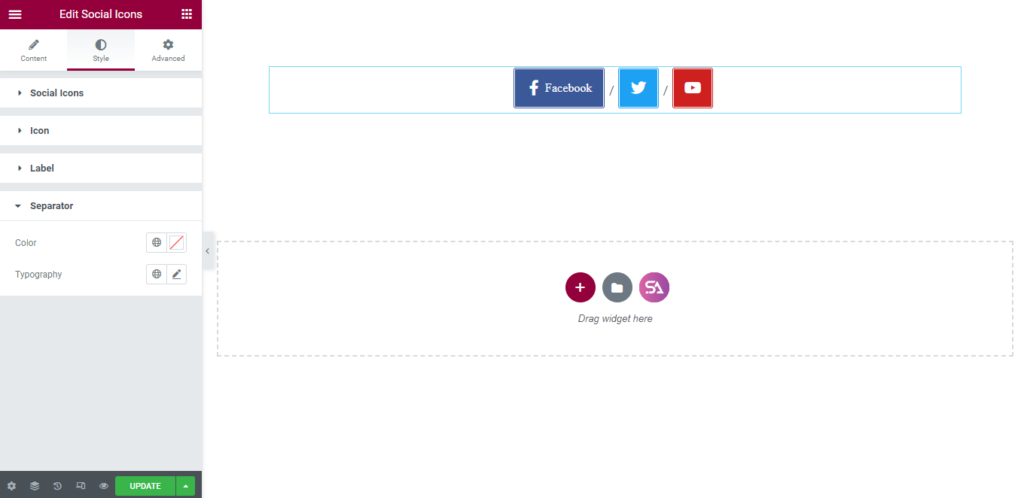
Lastly, we are in the ‘Separator‘ section.
A separator in a website is a visual element used to divide and distinguish content on a page. It can be a horizontal rule, a line, or a space that separates the content into distinct sections, making the page easier to read and understand. Separators help to group related information, making the page layout more organized and attractive. They can also be used to create a visual hierarchy, drawing attention to important content and providing a clear structure for the page.
So, Here you will be able to Change the color of the Separator and its Typography.
That’s it. we are done with the tutorial. We hope that you have understood the whole process of using the Social Icons widget of Sky Addons in Elementor. If you have any questions or queries regarding this feel free to contact our website – https://wowdevs.com/support/
And don’t forget to visit our demo website – https://demo.skyaddons.com/elementor-social-icons-widget/
