
If you are planning to add an Info Box to your WordPress website but don’t know the procedure for using it then this article will assist you in solving your problem. You will be guided step by step so that you can easily use the widget.
What is Info Box?
The Info Box Widget is a powerful tool that can be used to display important information about your website, products, services, and more.
Today we will introduce you to a very powerful Info Box widget provided by Sky Addons.
You can make stunning Information boxes for your website using the Info Box Widget from Sky Addons. You can give a sleek look to infoboxes with icons, images, titles, descriptions, and a variety of other options. Info boxes can be given a modern appearance. utilizing the info box widget.
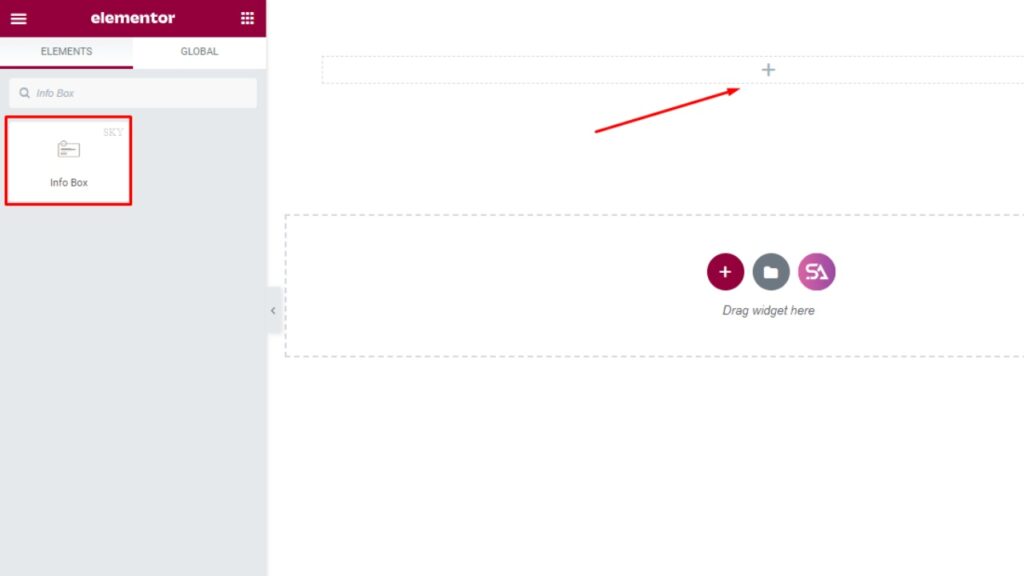
Step 1
Go to your Elementor Editor and search Info Box widget from the Editor Panel and then simply drag and drop it into your section.
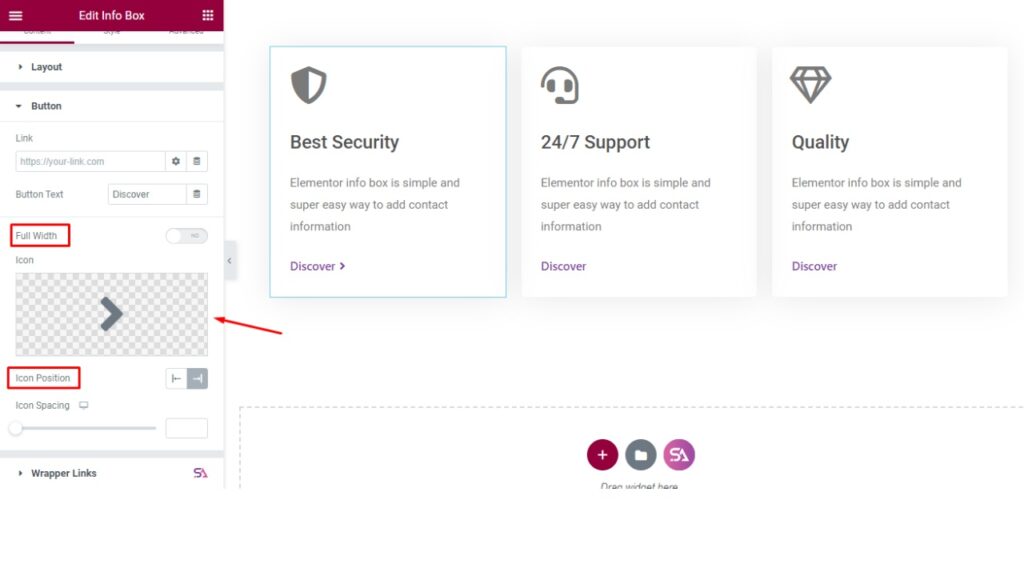
The Content tab consists of Layout, and Button sections.
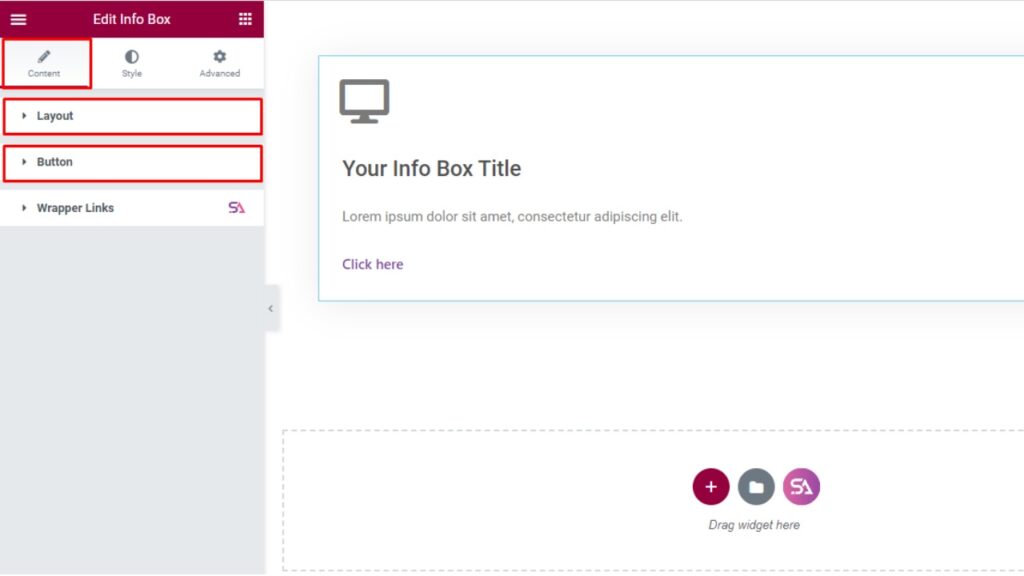
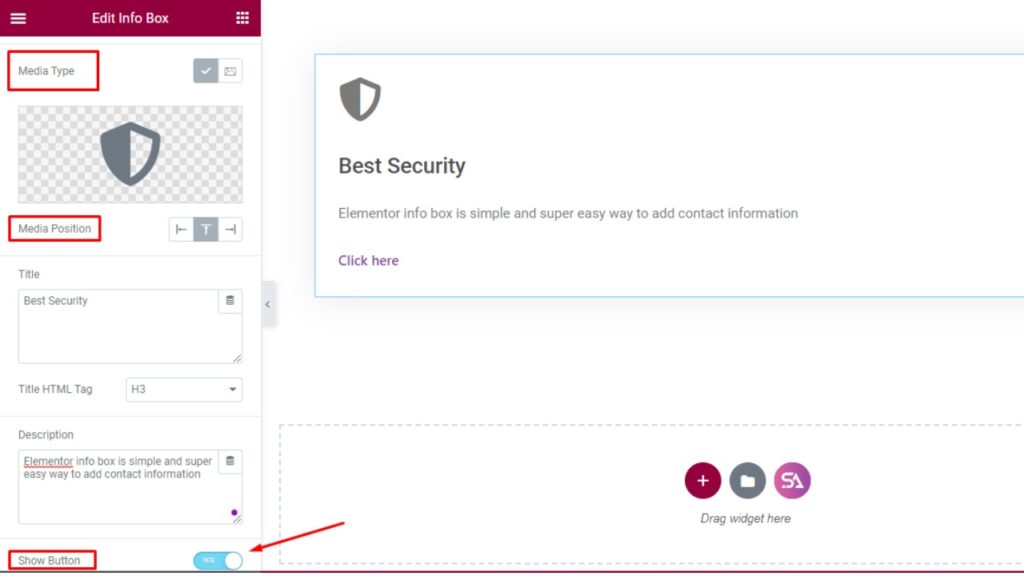
Under the Content Section, The first section ‘Layout’ allows you to select the media type, where you will get the option to use an icon or image that is suitable for you can use it.
You can also change the media position to left, right, or center according to your choice. You can change the Title and Description from here.
There is an option that says ‘Show Button’. You can enable it if you want to display the button on your Info box, otherwise, simply disable that option.
The next thing you will find is the ‘Button’ section. This option allows you to change the button text, and add a link to the button. You can use any icon for the button, change the button position and use spacing to the icon, etc.
Step 2
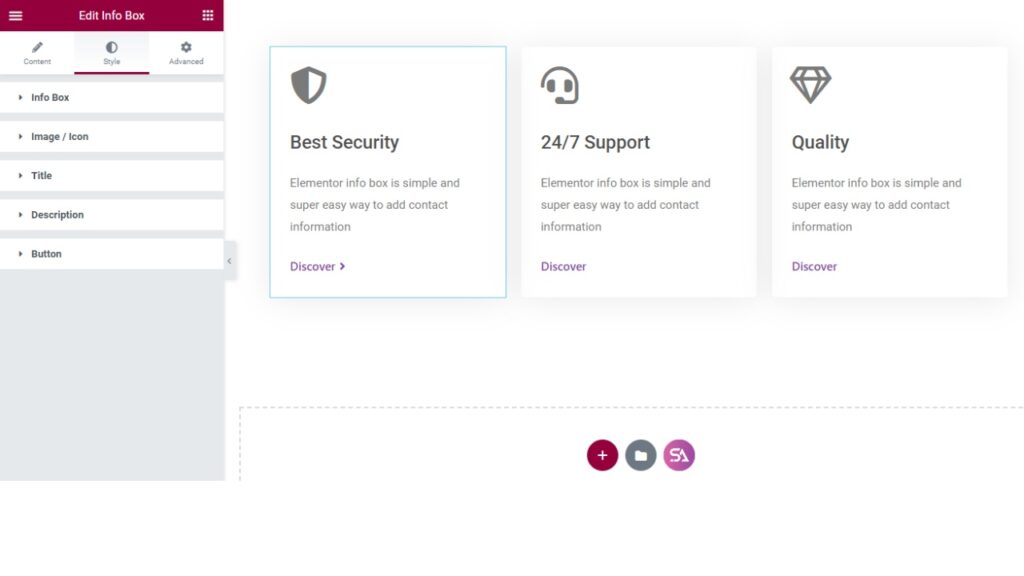
Now we come to the ‘Style’ tab. This Info Box Widget is loaded with advanced features that let you style every single element of the info box.
This Style Tab is made up of several sections. You will find the Info Box, image/Icon, Title, Description, and Button sections under the Style tab.
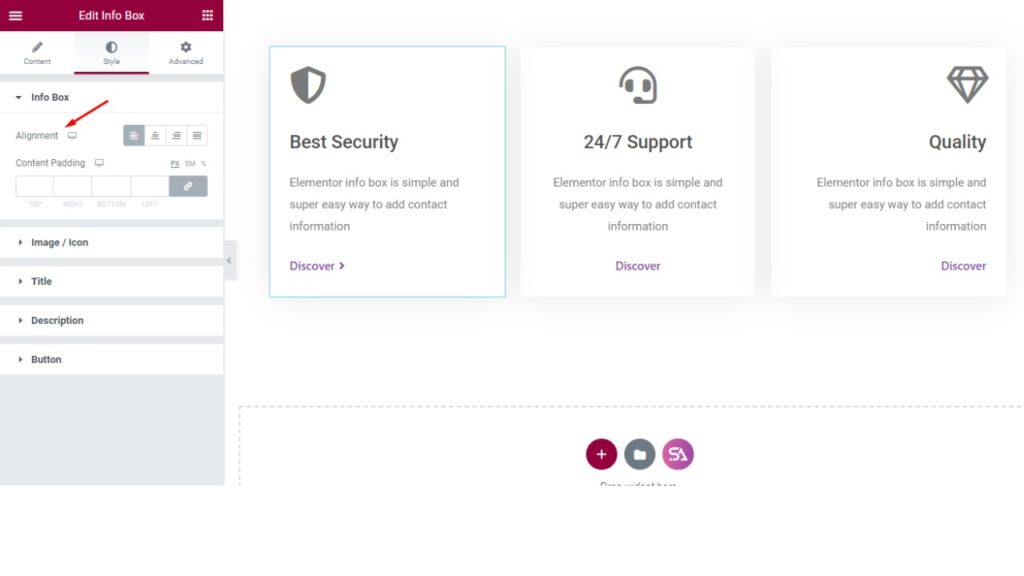
Here you can change the alignment and use content padding. As you can see in the image below, we have set the alignment of 3 different Info Boxes to the Left, Right, and Center for your better understanding.
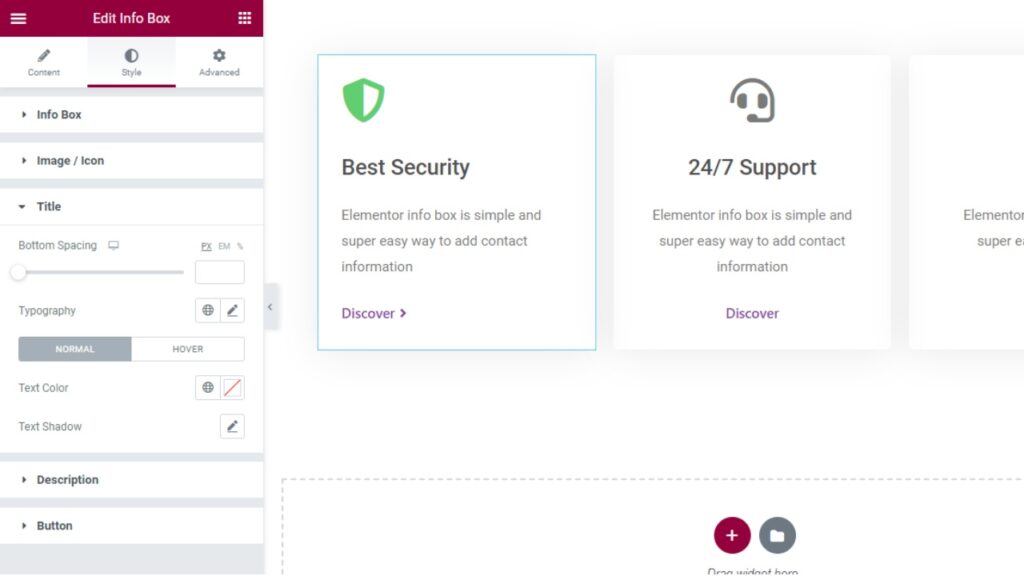
In the ‘Image/Icon’ section you will be able to edit the image or icon. You can change its size, spacing, padding, and color. As you can see in the image below we have added color to the Icon.
If you want to use a border for the icon, you may give it from here. You can select the box type, change the radius, add a hover effect, and many more.

The Title section allows you to add spacing, text color, and type of text using typography.
You have so many options to make your title and description perfect and eye-catching. You can add a hover effect from here to your Title which will increase the beauty of your info box.
You will get all the same options for the ‘Description’ section as well.
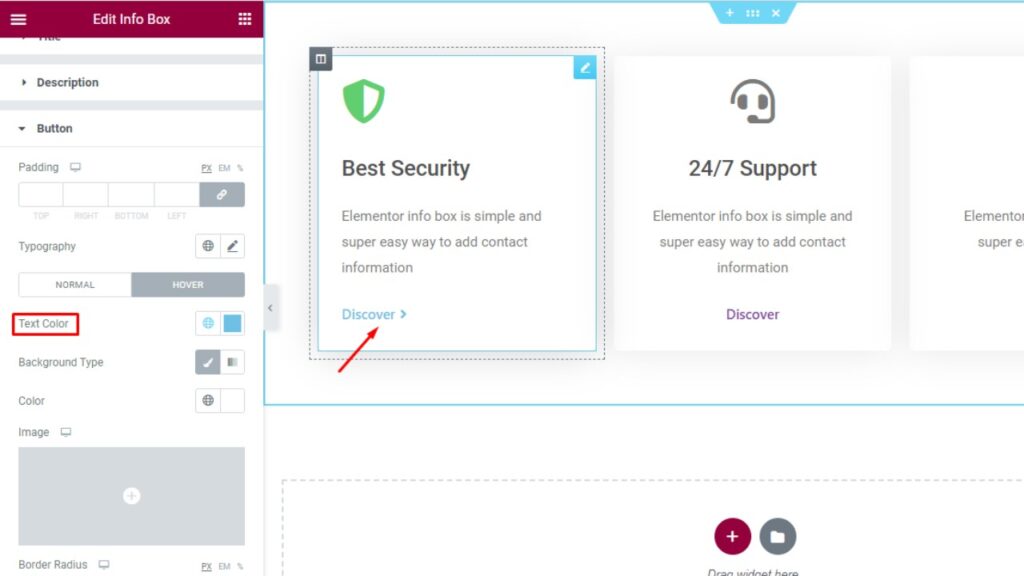
The last section is the ‘Button’. You can add padding, text type, border, and radius, color, and box shadow. If you want to add a Hover Effect to your button you can do it from here as well.
So in this article, we gave you each and every detail you need to know about the Info Box Widget, and then step by step we showed you the full process of how to use that. We hope that you have understood the whole process.
Now you can easily start using Sky Addons Info Box widget in your Elementor editor and build wonderful WordPress websites which will attract more visitors to your website.
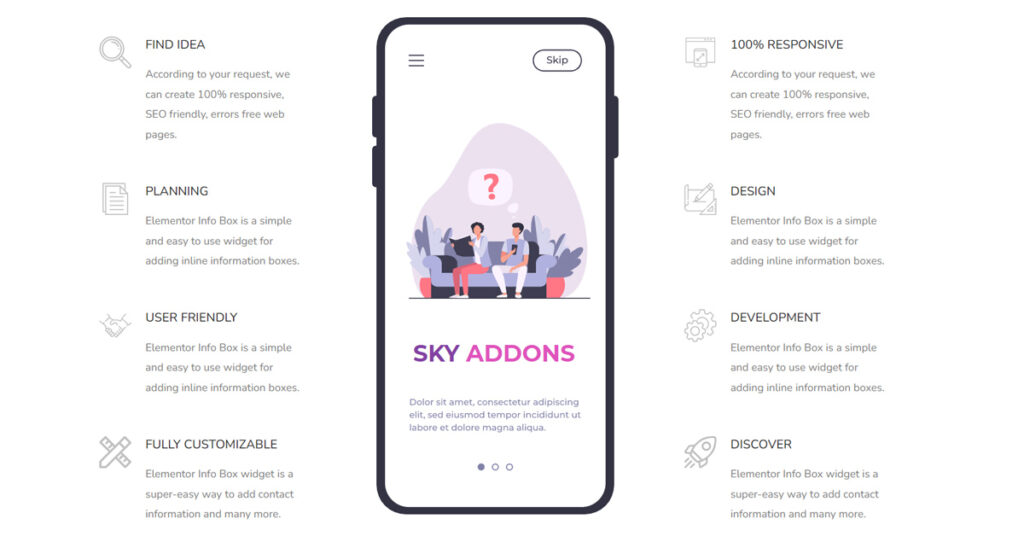
Don’t forget to check our demo design of the Info Box Widget – https://demo.skyaddons.com/elementor-info-box-widget/
If you have any questions, please feel free to contact us – https://wowdevs.com/support/